
Even though sewing has been considered to be a woman’s job for hundreds of years, that’s fundamentally untrue as everyone should know how to sew. It’s kind of silly to take your coat to the local tailor just for them to sew a single button in. That’s why sewing is a lifetime skill that can become useful at any point, and it’s very easy to learn how to sew. So, in case your mom is not around, and you need to sew something as soon as possible, here’s a step-by-step guide to sewing!
How to Sew a Button (With Four Holes) – Step by Step
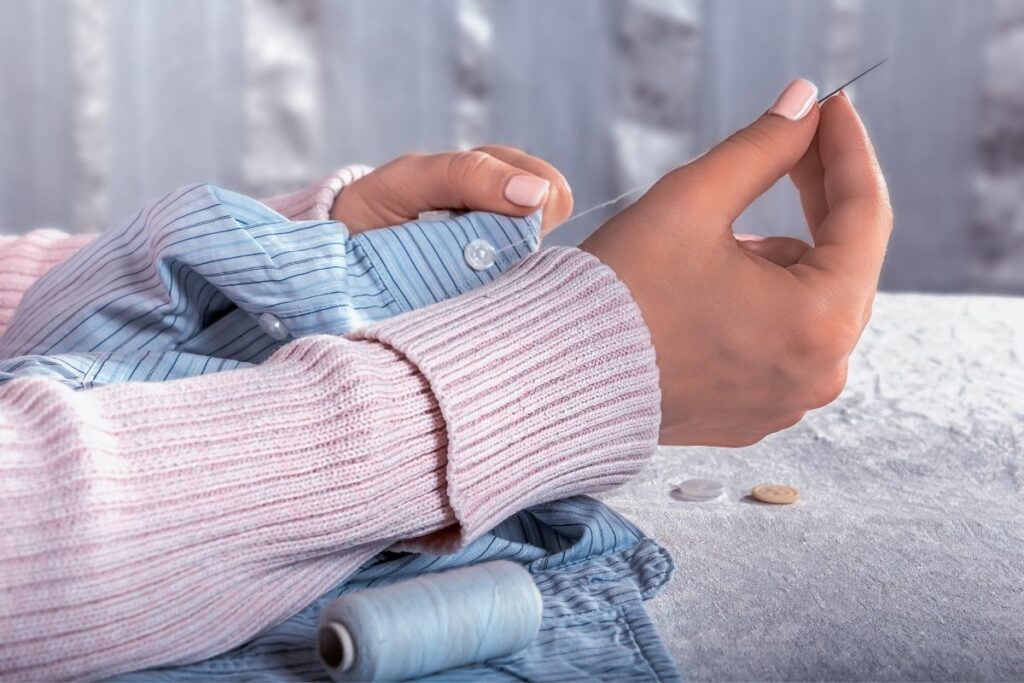
Step 1 – Gathering the Materials
There are a few things you’ll need to go through with a sewing job. Firstly, you’ll need the garment (obviously), or whatever it is that you need to sew your button on. Secondly, you’ll need a button that’s matching all the other buttons. If a single button is colored differently it’ll be visible from miles away, so you should always buy a button of the same size and color.
A button is often presented with the piece of clothing you bought, so you sometimes won’t even have to make that trip to the tailors.
Thirdly, you’ll need a matching thread. Obviously, if your button is white and the thread used will all the other buttons is white, don’t get a black, red, or navy-blue thread – get a matching, white thread. Preferably 24 inches of thread should be enough for you to get the job done.
Another thing you’ll need is a sewing needle, and you can also get a needle threader. If you don’t know how to sew, the biggest problem rookies have is pulling the thread through the eye of the needle.
You will also need a pin and a pair of scissors.
Step 2 – Threading the Needle
You should cut about 24 inches of thread and slide it through the eye of the needle. Following that, you should pull the thread through the needle until you have equal lengths on both sides – this is called ‘doubling up’ the thread. Now, knot the ends of the thread together to keep them from coming apart. This knot is also your anchor, so you need to make sure that it won’t go through your fabric, but one knot is usually more than enough.
Step 3 – Marking the Spot
You took the pin for this specific reason – you need to mark the spot where your button will go. To do this, lay the fabric down as if it was buttoned. Push a pin through the middle of the buttonhole and through the fabric behind it. This way, you’ll have a clear mark of where the button should go and you won’t sew it at the wrong place.
Step 4 – Push the Needle Through the Backside
You should push the needle up through the underside of the cloth next to your marker pin. After that, you can remove the pin and pull the thread all the way until the knot stops because it collided with the fabric.
Step 5 – Covering the First Set of Holes
Set the button on the spot and bring your needle through any hole in the button. Following that, push the needle through the hole that is diagonal across from the first hole you’ve pulled your needle through. Bring it back down through the fabric and repeat it two to three times through the same holes.
Step 6 – The Remaining Holes
Once you’ve done that, you’re going to repeat the process with the two remaining holes.
Step 7 – Securing and Cutting the Thread
Once you’re sewn your button-down, you’re going to need to secure the thread to ensure it doesn’t untie itself. To do this, start with a loose stitch on the underside of the fabric, and before you tighten it – bring the needle through the loop like you’re tying a knot. Tighten that loop and repeat this process twice more.
After that, all that’s left to do is to cut off the excess thread and your button is sewn on.
You should also know how to sew a shank button. Shank buttons are typically used with coats and jackets and don’t have holes like normal buttons do. Instead, there’s a single loop – referred to as the shank.
How to Sew a Shank Button?
You should follow the first four steps just like with four-holed buttons, but this is where the difference is.
Step 5 – Threading the Shank
You should bring your needle through the shank and back down through the fabric you’re sewing. Don’t sew it on too tightly, as it shouldn’t be dangling off, but the shank shouldn’t make an indent into the fabric.
Repeat this same process up to five times to secure the button in place. Once you’re done, pull the needle to the front and thread it through the stitches you’ve made. This will secure the thread in place.
You can also wrap your thread around the shank a few times if you want to secure it even more.
Step 6 – Finishing the Sewing
After that, all that’s left to do is to cut off the loose ends of the thread close to the fabric. That’s it – the button is sewn on.
How to Sew a Button (With Two Holes) – Step by Step
The only difference between four-holed and two-holed buttons is in the number of holes.
The first two steps are the same as with a button with four holes, however, you don’t do it the same way you do with a four-holed button.
Step 3 – Threading the Button
Instead of positioning a pin, hold the button down to the spot where you want to sew it down and push the needle up through the fabric and through one of the holes in the button.
Following that, place a pin underneath the button, between the stitch you have made and where the next stitch will go – this will keep the button from being stitched too tightly. Push the needle through the next hole and through the fabric. Repeat this process as many times as you think it’s necessary.
Step 4 – Finishing the Stitching
After the last stitch, push the needle through the material – but don’t push it through a hole in the button. Following that – remove the straight pin from under the button and wrap the thread around the bottom of the button (the spot where your thread is entering the fabric). Wrap the thread six times around the thread between the button and the material to reinforce the shank you have created.
Following that, push the needle back through the material and make three or four more stitches just to secure the thread. You can also make a few stitches below the button, going back and forth to make them strong. Now, tie the thread off and cut off any excess thread. That’s all there is to it.
Can You Sew on a Button with a Sewing Machine?
Yes, you can sew a button on with a sewing machine, but this is completely pointless. It’s likely that you won’t be sewing buttons every other day, and purchasing a sewing machine makes very little sense. Sewing a button on by hand isn’t any less reliable than sewing it on with a sewing machine and it’s actually much easier to learn (as learning how to use a sewing machine is a completely different world and it takes a lot of practice).
Helpful Tips for Sewing a Button!
Always pull the thread completely after every stitch – this way, you’ll be preventing knots and tangling.
If you can, always purchase a button thread, not an all-purpose thread. Button thread ensures that your button is securely sewn on any piece of fabric. This type of thread is actually thicker and stronger, so you’re less likely to rip it off. When purchasing thread, go to a fabric store, not an all-purpose thread.
If you’re really terrible at sewing, you can coat the thread with candle wax to make it easier to pull through the fabric.
Also, make sure to save any old buttons from any clothes you’re not wearing anymore, you never know when they might come in handy for sewing them on a new piece of clothing.
If you’re looking for a job done really well, take your clothes to a tailor. If you don’t sew down your button well, as silly as it may seem, it’s going to be really obvious and it will draw a lot of attention to itself.
Literature: