Cleaning is one of the most important parts of keeping a household in order. Most people have a well-developed cleaning regiment, and they clean once or twice a week in order to keep their house fresh and clean. However, somehow, there are parts of all of our households that somehow don’t seem to get the attention they deserve and are left uncleaned for long periods of time.

One of these is the kitchen fan, also known as the kitchen exhaust fan. More precisely, we are talking about the filters in these fans. Pop quiz: when was the last time you cleaned your filters? If the answer is more than one month ago, this article is for you, and it will help you learn the most important steps of cleaning one of the dirtiest parts of your kitchen and arguably, your entire home. If you are interested, read on for more!
Step 1: Analyze the Situation
As with any somewhat more complicated procedure, you should spend a couple of minutes assessing the situation you have at home with your filters as well. The fact is, people usually take these fans and filters for granted, and they don’t even bend down to take a look up at the greasy, disgusting filters that they don’t even know they have been using.
These filters are supposed to be metal-colored and nothing else. There should be no other color or texture on there. They are mostly made out of aluminum or stainless steel mesh (there are other types, but this is by far the most common case), and they should have the color of one. You will see a yellowish, orangeish, brownish, sticky substance accumulating on these filters when they aren’t cleaned for a longer period of time.
So, why is it important to clean these filters, you might ask? So what if there is a slight discoloration? Well, aside from the fact that it is absolutely disgusting and can turn quite smelly as well, it is also dangerous. These filters are meant to collect the oil fumes and other dirty, sticky substances on their way through so that these materials don’t end up on the fans themselves or collecting in the exhaust airways, but one of the most important reasons why it is important to clean these filters is because of fire safety.
If you don’t clean them, the grease will accumulate so much over time, that it will make the fans work harder and harder for them to be able to propel the air. This can overheat the fan motors and can even cause fires (though there are built-in systems to prevent this). Even if it doesn’t cause a fire, it can cause the fan to cause a short circuit to increased power loading on the motor.
This is why you should evaluate your situation as fast as possible if you haven’t cleaned your kitchen fan filter in a longer period of time, and then get to work if necessary. Of course, if you don’t cook, and you haven’t cleaned them in months but they are still in perfect shape, it is unnecessary to clean them, but most often, that isn’t the case.
When assessing the situation, you need to take a couple of things into consideration:
- How much grease is on the filters?
- What kind of shape are the filters in?
- When have you last cleaned them?
- When do you have a couple of hours to clean them if needed?
The answers to these questions determine whether you should buy a new set of filters or not, whether you need a lot of time or just 30 minutes, and also the potential cost of your attempt.
Step 2: Time to Get Practical
After you have done your assessment, you have to start preparing for the process. For the sake of the effectiveness of this article, we will assume that the case you are dealing with is relatively extreme and there is a lot of dirt and grease to remove from your filter. If you don’t, just use our tips and steps the same way, except for shorter periods of time or with fewer chemicals or scrubbing. The concept is the same.
Here are some of the most important things you will need:
- Dishwashing detergent (not dishwashing liquid/soap)
- A toothbrush, kitchen brush, or any tool with which you can effectively scrub the dirt
- Sink or container you can fill with hot water and fit the filters in
- Water tap or hose
The first and probably the most important item you will need is dishwashing detergent. It is important that this isn’t the typical dishwashing soap you use for washing your dishes by hand. The difference between dishwashing detergent and soap is that detergent, for one, does not become bubbly. This seems trivial, but the fact that soap bubbles up is great for spreading out a small amount of it over many dishes, but in this case, we need the concentrated power of the detergent. Detergents are also often somewhat more powerful and good at removing grease since they are not meant for use with bare hands but inside a dishwasher.
Step 3: Removing the Filters
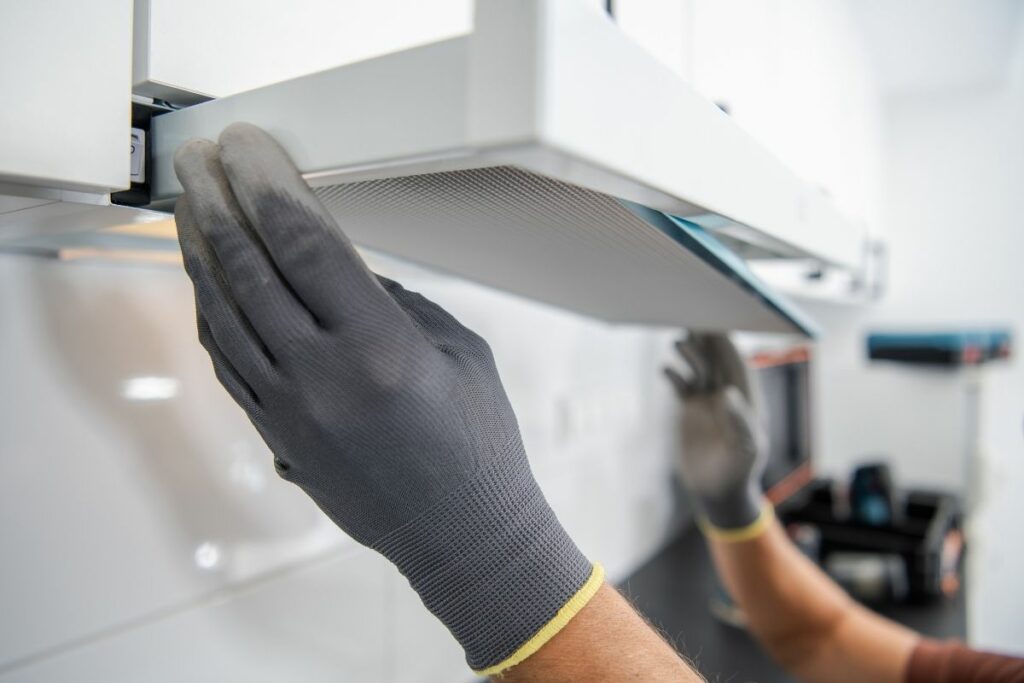
Usually, filters are really easy to remove. You probably have to press some button or pull some lever to undo the locking mechanism, which is usually just some bolts in a notch or something similar to that. There are some cases in which it is harder to take off the filter, in which case you might have to look up how to do it specifically for your fan, or maybe call a professional.
Once you have taken the filters off, it is time to start cleaning.
Step 4: Cleaning
We will divide this part into more “sub-steps” so that it is easier to follow.
- Step 1: either in your container or your sink, wet the filter/filters with warm water (or boiling water if you can manage not touching the filters while doing so). This will already remove some minimal amount of guck (the hotter the water the more it removes) and will allow the detergent to be separated more evenly.
- Step 2: place the filters in a container without water in it (or your sink, of course), and with gloves on, pour detergent all over it. A reasonable amount that you can spread evenly is enough, no need to overdo it.
- Step 3: take your brush, and spread the detergent as well as you can into every corner and crevice of the filters. Make sure to get the sides, the corners, and everything that you can reach. Don’t leave a square inch of unscrubbed space. At this point, you don’t necessarily need to scrub hard, but make sure you have confident strokes so you can effectively spread the detergent.
- Step 3: Let it rest for 10-60 minutes. Depending on the amount of dirt, you have to let the detergent work its magic for a while at this point. It will dissolve the grease slowly so you can clean it off with warm water.
- Step 4: After letting the filters sit in the detergent, use a strong jet of warm water to wash off the detergent and the grease. Of course, the hotter the water you can use, the better, but often you will have to hold the filters while doing so, so you might not always be able to use boiling water.
- Step 5: Repeat the process 2-4 times if necessary. This depends on the amount of accumulated grease. You should end up with a completely clean, metal-colored mesh and complete filter.
Step 5: Put the Filters Back
Now, after letting the cleaned filters dry completely, place them back onto your fan and you are done. You have extended the lifespan of your kitchen exhaust system by a substantial amount of time, and you have also reduced your risk of fire hazards or bad smells.
It is important to repeat this process once every month or so, especially if you cook often. After a time, you might even have to replace the filters, but you can use one set for years with the proper care.
Extra Tips
- Try using boiling water or really hot water in as many parts of the process as possible. On its own, it already removes and dislodges a lot of guck, so the hotter the water the better.
- You can also use specialized cleaning agents and liquids for this process if you don’t have dishwashing detergent at home, however, those are often not as effective and can also be more expensive
- You can also try soaking the filters in a mixture of boiling hot water, baking soda, and some dishwashing solution (soap, detergent, capsule, doesn’t matter) before you scrub on the detergent, or you can even complete the whole process with similar concoctions. These tend to be less effective, but they can prime the filters for the detergent and make it a lot quicker to finish the process afterward
- Always, always wear rubber gloves when dealing with such acidic cleaning agents, chemicals, and detergents to avoid burns, irritation, or injury. Your safety should be your number one priority.
