
Isn’t it annoying when you put on your best pair of jeans, or a perfect dress, only to realize that the zipper is broken? We are then faced with two possibilities: to throw the clothes away or to try to repair the broken zipper. But how do you repair a zipper?
There are many ways to repair a broken zipper and they all depend on which part of the zipper is broken.
There are many things that can go wrong with your zipper, so there is more than just one solution for fixing it. Your zipper can separate after fastening, it can get stuck, it can refuse to stay up, the pull can break, and it can become separated. If you have any of these problems, don’t worry, there is an easy fix for each one of them.
Is there a way to fix a broken zipper?
There are actually many ways you can fix a broken zipper. But before we get into how to fix the zipper, here is how the zipper works.
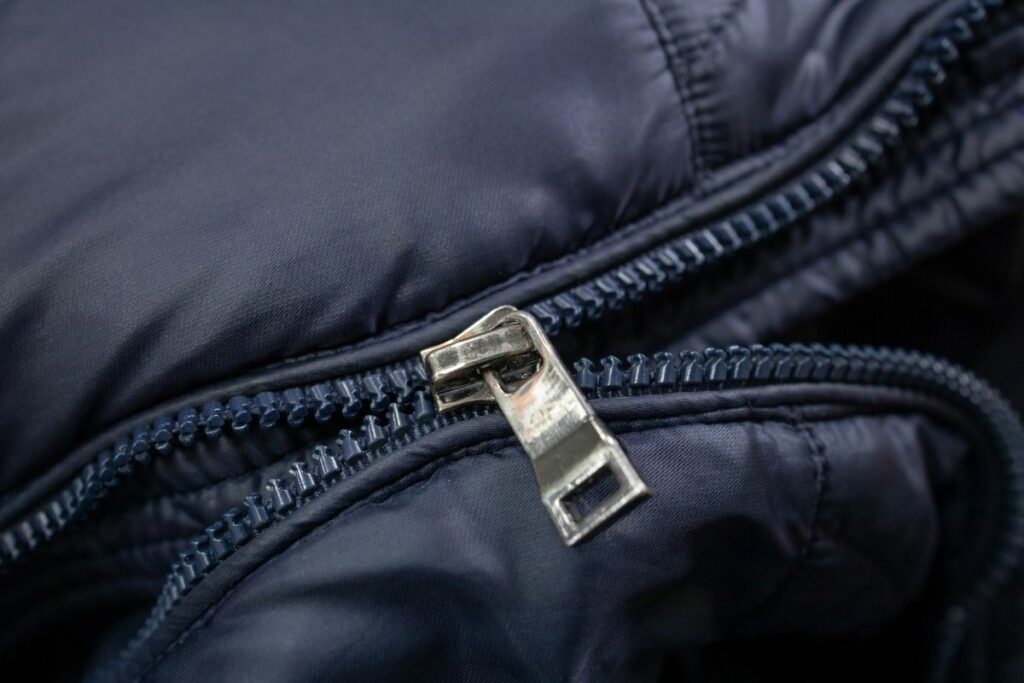
The zipper is formed of two lines which are fitted with teeth and are made to fit perfectly. When you pull the zip upwards, the teeth will connect with each other, and make an unbreakable bond.
There is a stopper at the top of the zipper, a small piece of metal on either side that prevents the zip from flying off the end.
There are many reasons why your zipper is broken. Here is what you can do to fix your zipper.
Zipper separates after fastening
If your zipper separates after fastening, the slider is causing the problem. A slider is a piece that’s meant to lock the teeth together. Over time these sliders start to loosen which makes them less effective at keeping the teeth in place.
To fix this issue, get a pair of pliers while the slider is still attached to the garment. There are two plates on every zipper. The part of the slider that attaches to the zipper pull is called the top plate, and the part of the slider that faces the inside of the garment is the bottom plate.
Using your pliers, squeeze the top and bottom plate together to restore the slider to its original, tighter shape. Be very careful, because if you press it too tight, it can break. Gradually compress the plates on either side of the puller until it’s right.
Zipper is stuck
Very often the zip will get stuck. To fix it, start by checking if there is anything caught in the zipper, for example, another piece of clothing, or some fibers. If you can, try to remove the obstacle by hand. In case that the item which is stuck won’t move, try to pull out whatever is blocking the item with a pair of tweezers.
If your zipper still won’t move, try using a pencil to coat the teeth surrounding the lodge with a light coating of graphite. This acts as a lubricant to help it slide smoother. In case that didn’t help, use some washing liquid and try moving the teeth up and down.
In case that pencil and washing liquid didn’t help, try using Vaseline. Using a cotton bud, coat the outside of the bud with a light layer of Vaseline. Next, use the bud to work the Vaseline into the teeth surrounding the stoppage. Vaseline could help remove any smaller items that are stuck in the zipper.
Zipper won’t stay up
If your zipper won’t stay up, it usually means that the teeth have either been dislodged or worn away. Closely inspect the zip to see if any of the teeth are out of alignment. If they are, use a pair of pliers to slowly bent those teeth into their original position.
If they are all in shape, it is most likely that your zipper keeps falling because the teeth are worn out. In that case, try painting the teeth with clear nail polish. This will make the teeth thicker, and potentially restore your zipper to its former working glory. In case that your zipper still won’t stay up after one coat of nail polish, try adding another coat or two. Make sure you let each layer dry completely before going over with another coat of nail polish. If you don’t the teeth will become sticky and rough.
You’ve tried everything and the zipper still won’t stay up. What now? You will probably have to replace it completely. Until then, you can fix it for a short period of time. To do so, feed a paper clip into the loop on the slider, hook the other side of the paper clip over the button, or clasp as the top of the zipper to hold the whole thing in place.
The zipper pull is broken
Once the zipper puller is broken off, it is incredibly hard to zip the zipper up. But it is the easiest zipper problem to fix. You can turn a key ring or a paperclip into a zipper pull. Just slide it through the tab on the slider and it is fixed.
Even though you can fix or replace every zipper, it is easier to prevent your zipper from breaking than having to fix it every so often.
The best way to prevent your zipper from breaking is by making sure you don’t use too much force when opening or closing it. Use steady and consistent pulls to guide the sliders up and down the zip.
Another thing to look out for is if the zipper is under too much pressure. If you are trying to close a bag that is too stuffed, or if your clothes are too small it’s possible the zip will buckle if there’s too much pressure pulling the teeth apart. When there’s a big amount of resistance sliding the zipper closed it is often a sign that, even if you succeed in closing it, the zip will subsequently break.
Remember that zipping up a dress is often a two-person job. You always need one person to hold the sides of the dress close together and another person to zip it up while paying close attention that the teeth of the zipper are not getting bent or mangled. When you are trying to blindly zip yourself up from behind, you can’t see what’s going on and you will more likely get it off track and bend some teeth along the way.
There is a special zipper lube that you can buy so that you can grease up your zipper before zipping it. You can also use a regular bar of soap or a tube of lip balm for this purpose.
Metal zippers are usually stronger and much easier to bend back into place. When the teeth of a plastic zipper get bent they just snap right off. That’s why you should consider replacing all your plastic zippers with metal zippers on any piece of clothes that means a lot to you or that you will be wearing a lot.
How do you replace a broken zipper without replacing it?
If you want to save your dress, jeans, a tent, or jacket and you don’t want to replace the zipper, here is how you do it.
You will need a pair of pliers. If the zipper slider is destroyed or was made of plastic, you will need to get a new one. You can buy one online for a very good price.
Start by removing the iron stopper at the top of the zipper, which is on the same side of the zipper as where the zipper pull is.
Next, remove the zipper slider.
If the zipper slider is made out of iron, try to get it back in its original shape with pliers. In case your zipper slider is made out of plastic, you will have to get a new one, as it will probably break if you try to bend it with pliers. Make sure you get one that is the same size as the original zipper slider.
Then put back the zipper slider. This could take a while, so be patient.
Lastly, put back the iron stopper with the pliers.
How do you fix a broken zipper on one side?
It often happens that our zipper gets separated. Here is how to fix a broken zipper on one side.
Start by inspecting the slider. Most times when the zipper separates and won’t go back together as you pull the slide is because the zipper pull is damaged.
Next, fix any apparent problems, like bent teeth or tears in the fabric of the zipper. Bent teeth will cause a zipper to separate, so use pliers to straighten them out.
Squeeze the zipper pull on the top and bottom with a pair of pliers, which will make the opening inside the zipper pull the correct size again. Make sure you don’t make it too small because that makes it hard to open and close the zipper.
How do you fix a broken zipper on a dress?
To fix a broken zipper on a dress, you will have to start by removing it, and opening up the seams. Use a seam ripper and while you are holding the fabric taut, push the seam ripper into the area you want to tear apart. You should end up with a dress that has a large tear with two seam lines.
Next, use a temporary stitch to hold the seams together while you work the new zip into place. Turn the dress inside out and pull the two seams line together until they are touching. Then use the tacking sewing technique to create a temporary stitch. Keep in mind that you should use a thread that is a different color than the dress so you can easily remove it once you are finished. To secure this stitch even further, you can place pins along the stitch lines too. Make the stitches as big as you want for this part as you’re just using them to temporarily hold together the two seams.
Next, lay your replacement zipper over the newly stitched seam lines of your dress and line it up perfectly with the creases. Since the dress is inside out, lay the zipper down so that the zipper tab and slider are both face down.
Use the temporary stitch again to attach the new zipper to the dress. You can use the same tacking technique as you did at the beginning. This is a very important part of the process since you’ll want the new zipper to be perfectly placed on your dress as it was before, so take your time.
To keep your new zipper in place and keep it attached to the dress permanently, you will have to use a sewing machine. Make sure you line the new zipper up perfectly in the sewing machine. It is very important that nothing can catch on while it’s operating.
Next, guide the sewing machine along the seam lines you want to stitch and be careful to keep it as straight as possible. This is the most difficult part so take your time.
Lastly, you have to clean up the area of any tacking stitches and loose threads.
But what if your dress has an invisible zipper? This zipper has smaller teeth which makes it invisible to the naked eye and is harder to deal with.
There are two things that can go wrong with this type of zipper.
If the seam has been separated, you will have to fix it from the bottom. Start by taking the two seams apart, and removing the slider by sliding it all the way off the fabric.
Next, cut off the bottom stop on both pieces of zipper tape and re-attach the slider by the top slit up until the first tooth. Repeat the same thing for the other side. Then, pull the auto-lock on the slider towards you and pull the two parts of zipper tape behind the slider in opposite directions.
That should make the slider pop back into the teeth and the zipper should work as it did before. Lastly, you need to create a new bottom stop so that the slider can’t slide off the dress. To do so, use a soldering iron to melt a small area of the teeth at the bottom and this will create a stopping point for the slider.
In case that the slider has fallen off the zipper, you are going to have to remove the top stop which keeps the zipper from sliding off. Remove the top stop and a couple of teeth with pliers, so that you have enough space to re-attach the slider.
Next, get the slider and slide it onto both strips of the zipper tape. Once it’s in place at the top of the teeth, you’re going to use the same technique as before, and pull the ends of the zipper tape in opposing directions. The zipper should then pop back into place and re-attach to the teeth.
Lastly, you have to make a new top stop. You will do so by taking a soldering iron and melting a few of the teeth at the top of both strips of the zipper tape. This will create a stop for the slider so that it can’t fall off again.
Related posts
-
Sewing machine repair
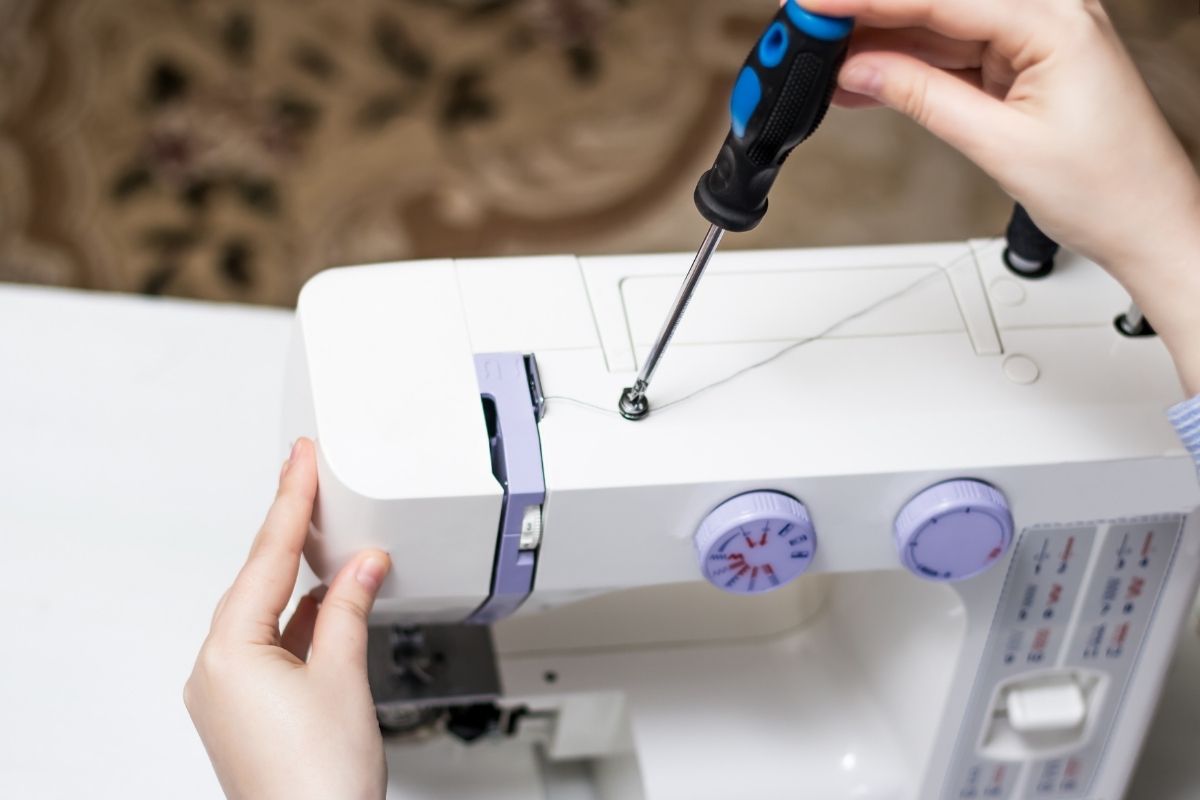
Patching, fixing, and sewing tattered clothing is a tiresome and yet rewarding task. Having the idea that you have accomplished something is a great feeling and making it last is a challenge. Sewing will demand time, patience, dedication, and hard work. Your tool of choice is obviously your good old and dependable as ever sewing…
-
Sewing Baskets For All Your Sewing Needs

Patching up and sewing tears on a piece of cloth can sometimes be a good stress-relieving activity. It can also be a warm and light bonding moment between mommy and her daughter. After someone is done sewing, there is a gentle breeze of a feeling of contentment, a sense of accomplishment on your part because…
-
Leather Sewing Kit
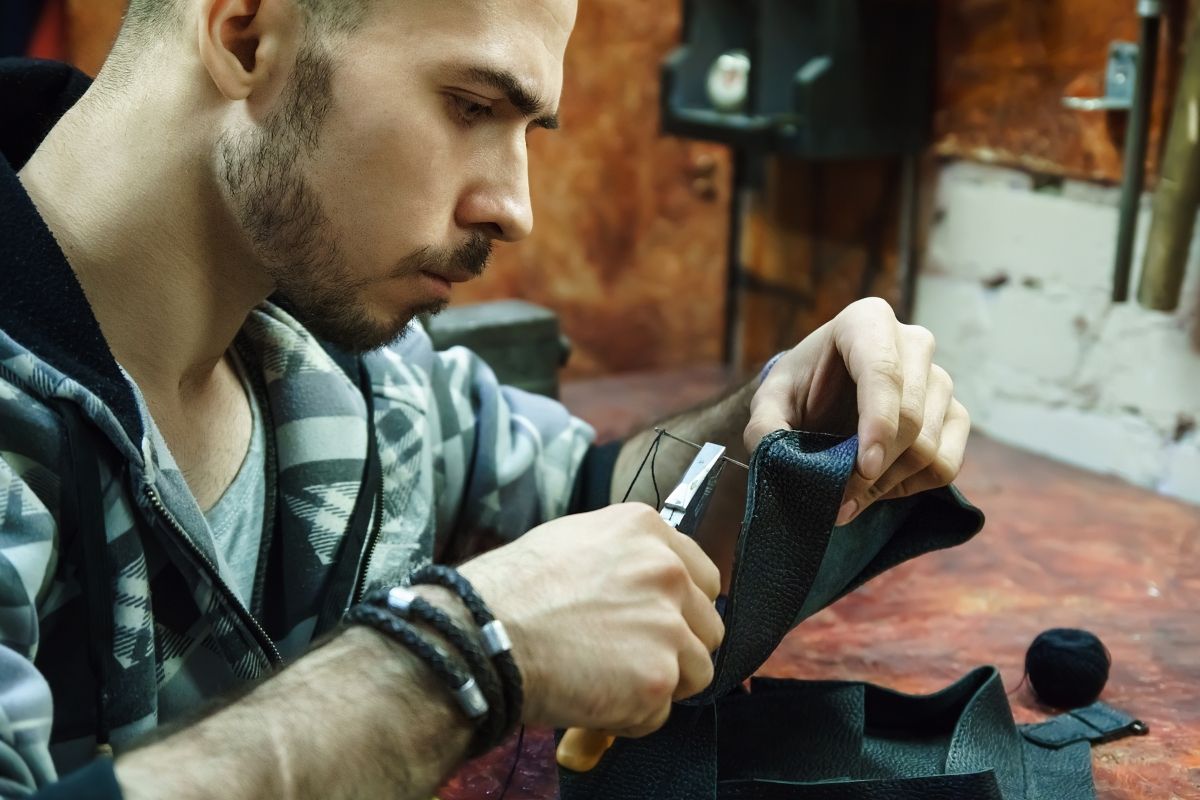
Leather is a strong, breathable, and comfortable material that can make its finished product luxuriously stand out. There are several tools used in leather crafting but below are the 10 most basic tools that you need to get started in this impressive and fulfilling hobby. What tools do you need for sewing leather? Skiving Knife…